
This year I had so much fun with this swap. It started back in July and every moth my partner and I had to send each other gifts and save them till this month to open. It was very hard to not peak!

Here is a pic of everything I got in my sack! Vickie was very generous.

look at these beautiful pins and pincushion she made.

I absolutely love this sewing kit!

Beautiful! Thank you so much for everything you sent me, Vickie!
Finishes

This is a rag quilt I mad for my Husband for Christmas. Each block has original drawings by our children.

I made this Advent Calender from an idea I saw on Pintrest (I couldn't find the post to share with you) my kids had so much fun putting the count down numbers up everyday!
Family

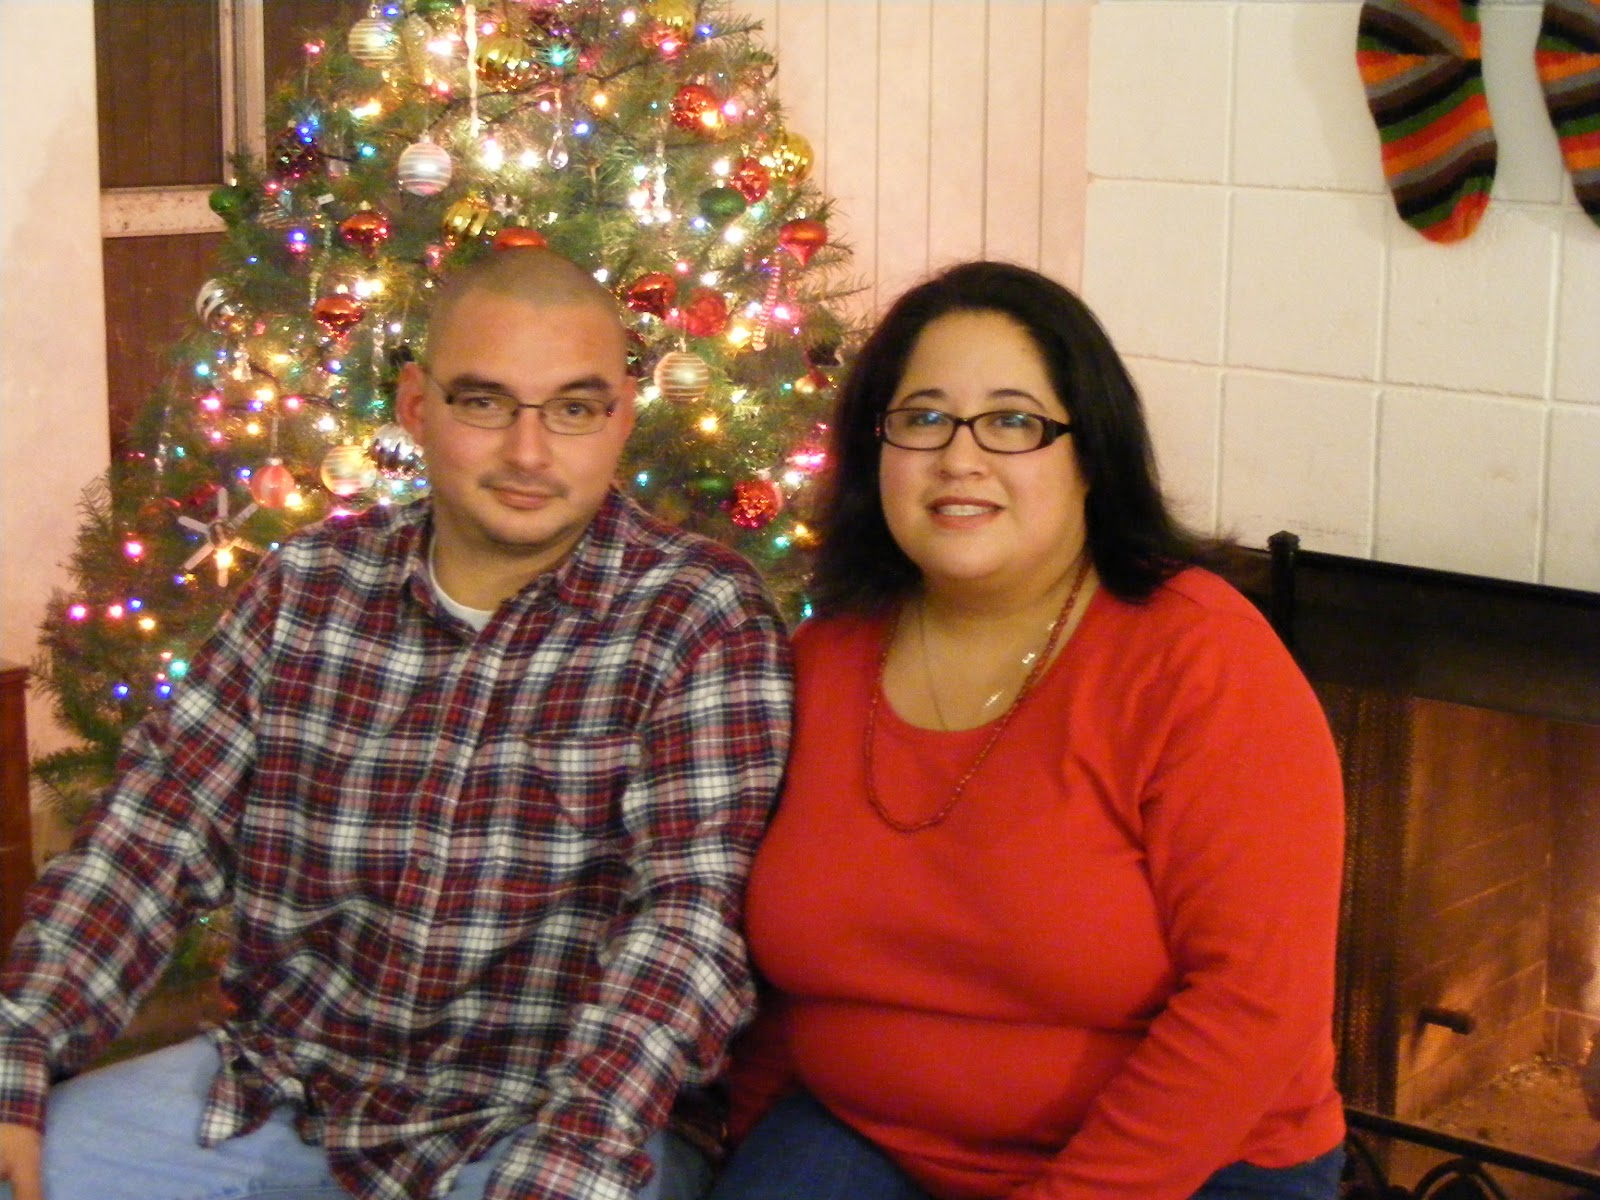

Here are a few of the Christmas pictures my family took for our holiday cards this year. I hope everyone had a Merry Christmas and I wish you all a Happy new year!
Till next time, have fun sewing!


